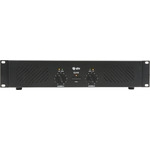
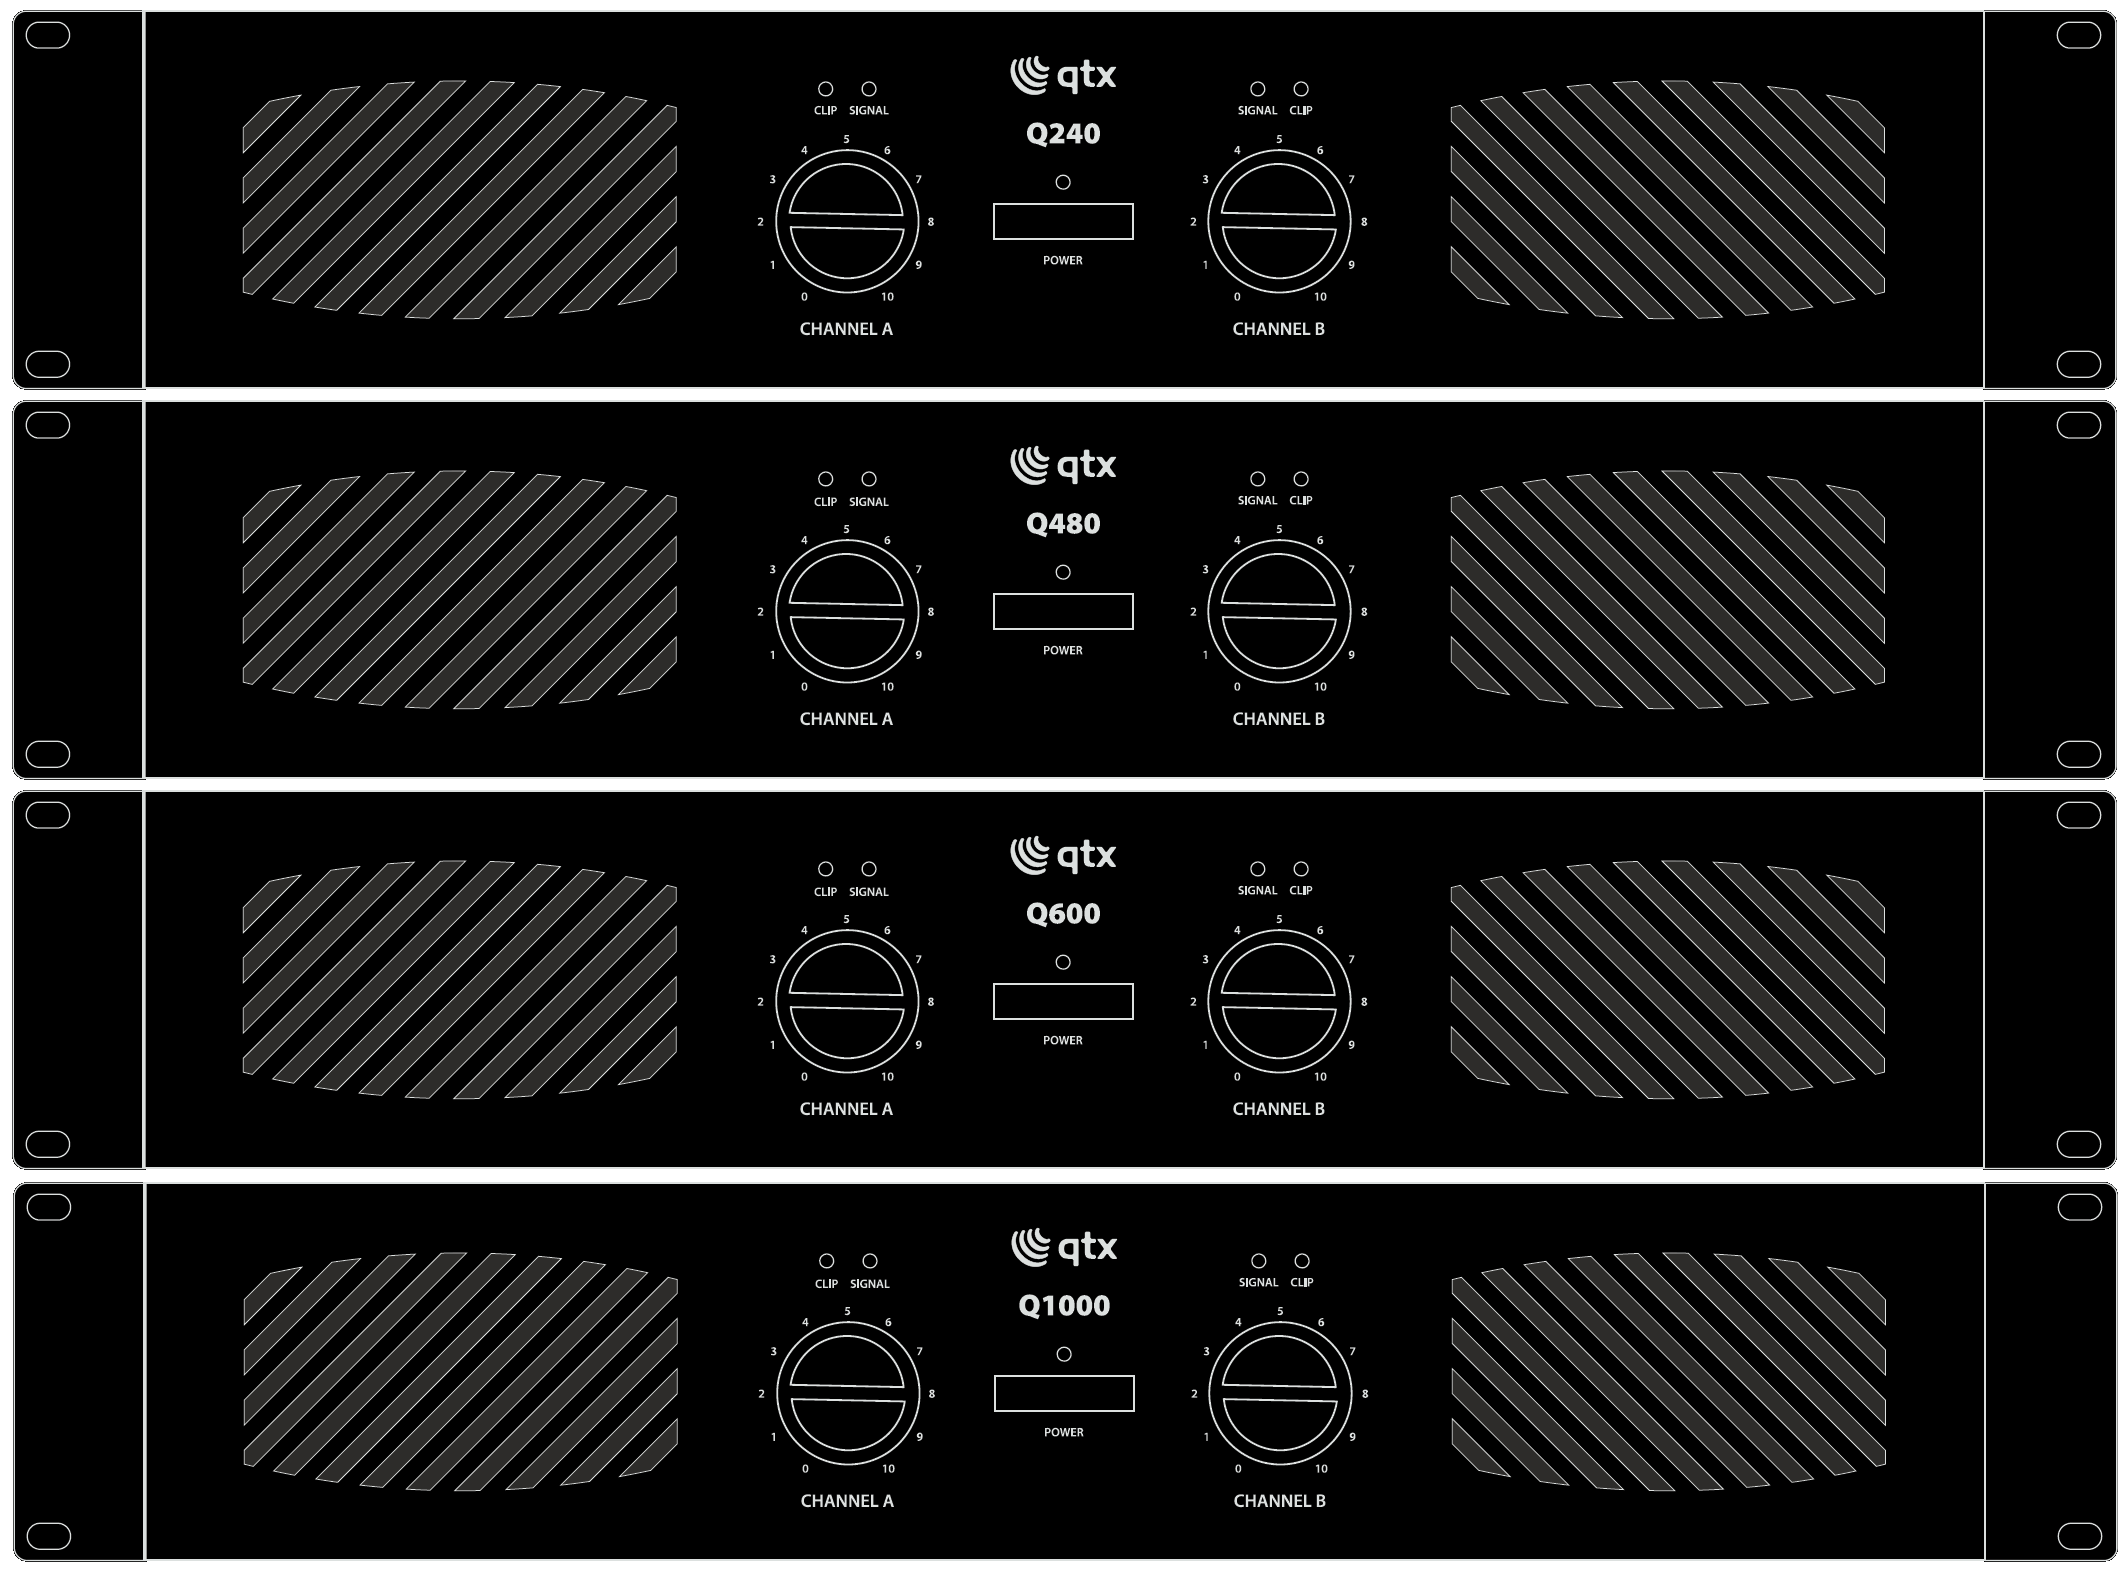
Q240
Q Series Stereo Power Amplifiers
172.051UK
Introduction
Thank you for choosing the QTX Q series power amplifiers as part of your sound reinforcement system. These amplifiers are designed to offer high quality, dependable service for mobile and installed systems. Please read this manual fully and follow the instructions to achieve the best results with your new purchase and to avoid damage through misuse.
Warning
To prevent the risk of fire or electric shock, do not expose any of the components to rain or moisture.
If liquids are spilled on the casing, stop using immediately, allow unit to dry out and have checked by qualified personnel before further use. Avoid impact, extreme pressure or heavy vibration to the case
No user serviceable parts inside – Do not open the case – refer all servicing to qualified service personnel.
Safety
Check for correct mains voltage and condition of IEC lead before connecting to power outlet
Ensure speaker leads are good condition with no short connections or damaged plugs
Check impedance of speaker loads do not exceed the minimum stated load for the amplifier
Do not allow any foreign objects to enter the case or through the ventilation grilles
Placement
Keep out of direct sunlight and away from heat sources
Keep away from damp or dusty environments
When rack-mounting, ensure adequate support for the base of the amplifier and firm fixings for the front
Ensure adequate air-flow and do not cover cooling vents at the front and rear of the amplifier
Ensure adequate access to controls and connections
Cleaning
Use a soft cloth with a neutral detergent to clean the casing as required
Use a vacuum cleaner to clear ventilation grilles of any dust or debris build-ups
Do not use strong solvents for cleaning the unit
Unpacking
Your QTX Q series amplifier should arrive in good condition with the
appropriate mains IEC lead(s)
If any contents are missing or damaged, contact your dealer immediately.
Layout
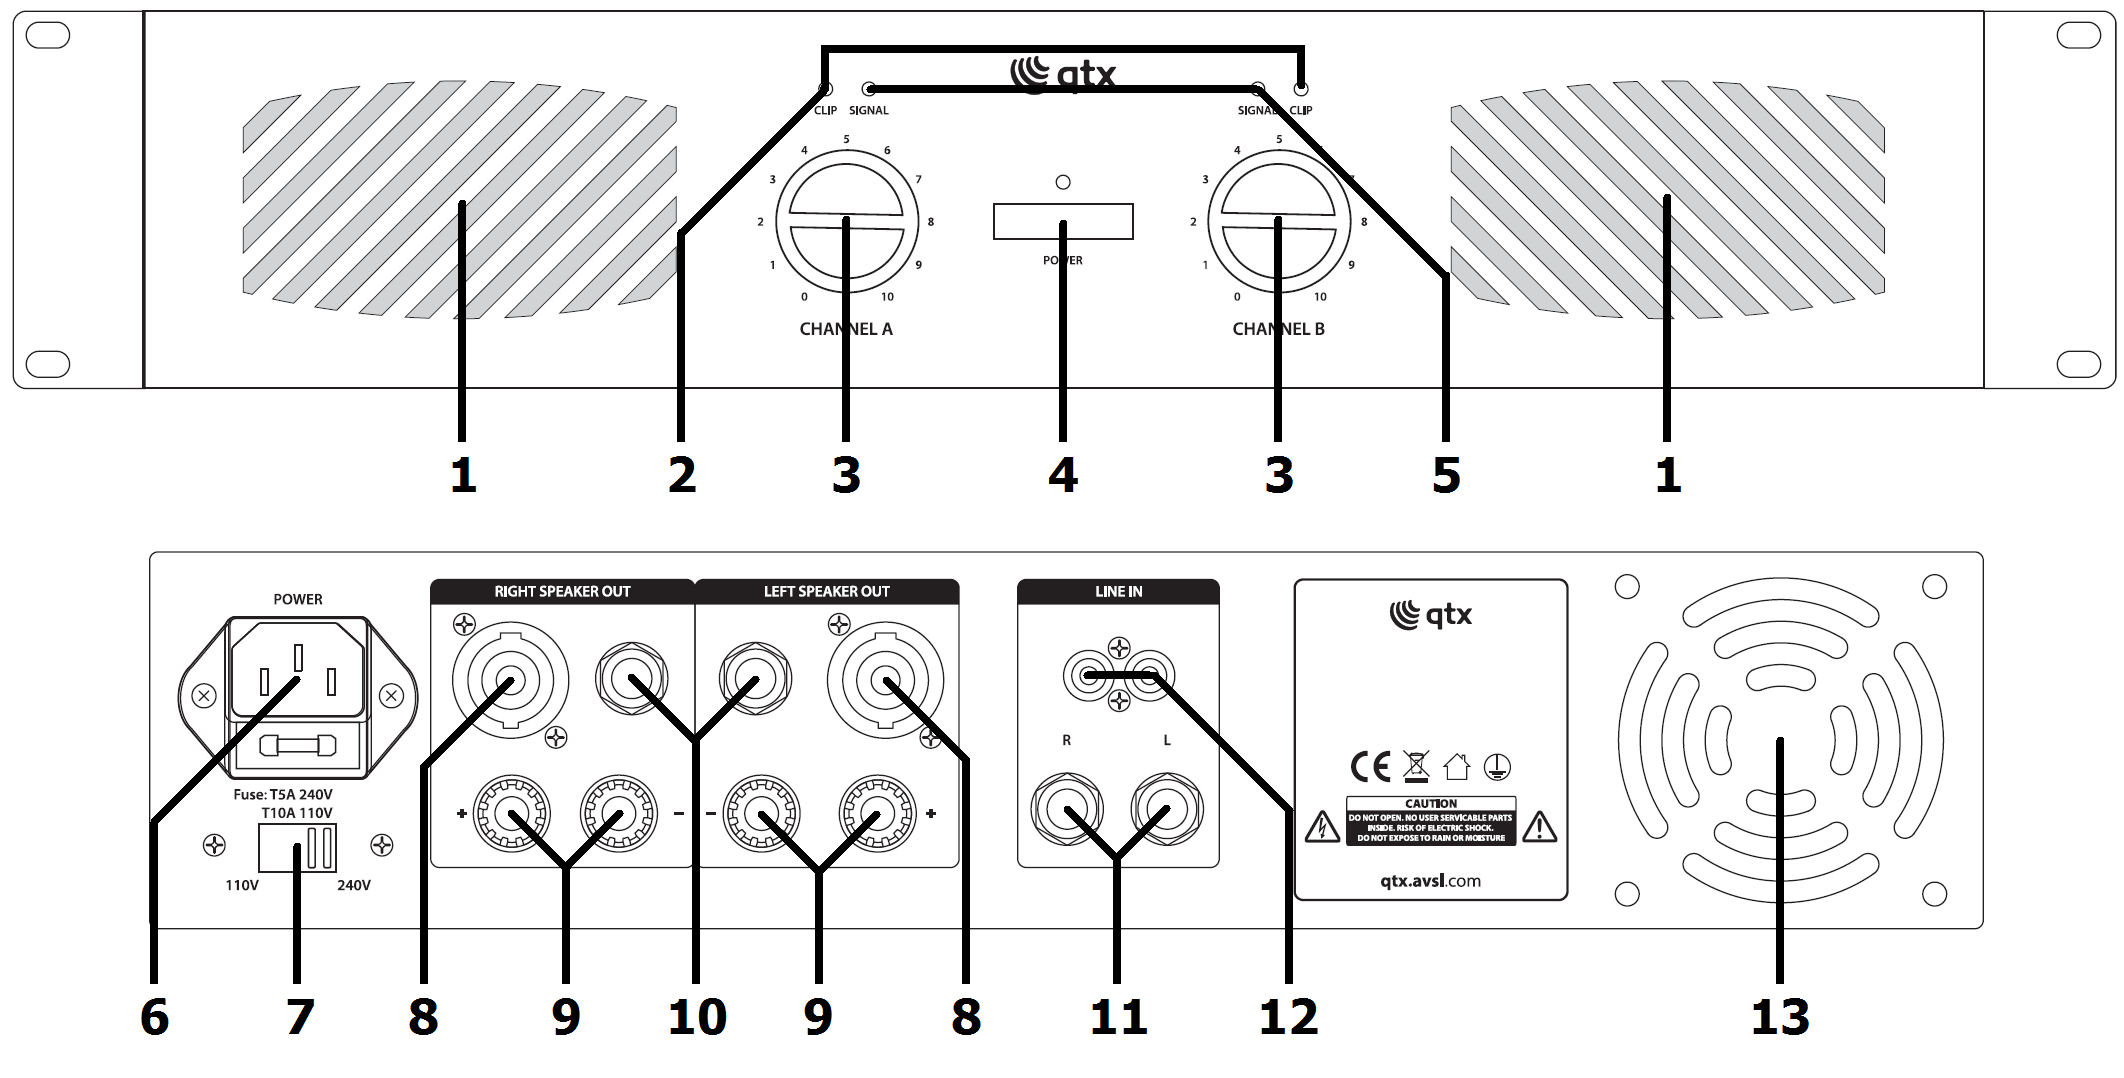
| No | Description | No | Description |
|---|---|---|---|
| 1. | Cooling vents – do not cover | 8. | SPK speaker outputs |
| 2. | LED Clip indicators | 9. | 4mm binding post speaker outputs |
| 3. | Channel gain controls | 10. | 6.3mm jack speaker outputs |
| 4. | Power on/off switch and LED | 11. | L+R line inputs (6.3mm jack) |
| 5. | LED Signal indicators | 12. | L+R line inputs (RCA) |
| 6. | IEC mains inlet and fuse holder | 13. | Cooling fan – do not cover |
| 7. | Voltage selector |
Operation
Connect speaker cabinets to speaker outputs (8, 9 or 10) using good quality leads and ensure that the combined load on each channel is no lower than 4Ω (for speaker loads connected in parallel, 8Ω + 8Ω = 4Ω)
Connect each signal input from mixer or other line level source via the jack (11) or RCA (12) connectors on the rear panel using good quality signal leads. The jack and RCA inputs are wired in parallel, so whichever is not used for the input signal can be used to connect onto further amplifier inputs.
Connect the amplifier to the mains outlet, making sure that the IEC lead is earthed, in good condition and connected securely. Ensure the correct voltage is selected on the rear panel voltage selector (7)
With channel gain controls (3) turned fully down, switch the power switch (4) on.
With mixer (or other signal source) levels turned down, gradually increase the amplifier’s channel gain controls to the required level (normally full) and then gradually increase the signal level from the mixer or sound source until sound can be heard through the speakers and then continue increasing up to the required level.
During use, the Signal LEDs (5) will illuminate to show that the signal is present. If the Clip LEDs (2) illuminate more than very briefly, reduce the volume until they hardly light up at all. This will avoid distortion or “clipping” through the speakers.
Before powering down, turn the channel gain controls fully down to avoid loud noises when switching off.
Troubleshooting
| Issue | Solution |
|---|---|
| No power light on front panel switch | Ensure IEC inlet is connected to mains and lead is in good condition |
| Ensure mains outlet is switched on | |
| Power light is on but no other LEDs and no output | Check input signal and connection leads |
| Ensure channel gain controls are not turned fully down | |
| Power light and Signal LEDs are lit but no output | Check speakers are in good working order and not shorted (use a multi-tester) |
| Check speaker leads are in good condition and connected properly | |
| If speakers/leads OK, switch off again and refer to qualified service personnel | |
| Case getting hot | Ensure cooling vents are clear and fan is working (refer to technician if not) |
| Output is very distorted and CLIP LEDs are lighting | Check the speaker impedance is not below the rated Ohms |
| Turn down the input level from audio source | |
| Turn down channel gain controls | |
| Output is working but at very low level | Ensure input source is at line level |
| Increase input level from audio source | |
| Turn up channel gain controls |
Specification
| Specification | Value |
|---|---|
| Weight | 5.2kg |
| Dimensions | 482 x 240 x 88mm (2U) |
| Power rms : 8 Ohms | 2 x 40W |
| Power rms : 4 Ohms | 2 x 60W |
| Power max. : 4 Ohms | 2 x 120W |
| Fuse rating | T2A (240V) / T4A (110V) |
| Power supply | 230Vac, 50Hz (IEC) |
| Frequency response | 20Hz - 20kHz |
| Input connectors | 6.3mm jack, RCA (L+R) |
| Input sensitivity | 775mV, 10k Ohms |
| S/N ratio | >98dB |
| THD | <0.5% |
| Output connectors | 6.3mm jack, SPK, 4mm binding posts (L+R) |
Precautions
 |
CAUTION |  |
| RISK OF ELECTRIC SHOCK DO NOT OPEN | ||
| CAUTION : TO REDUCE THE RISK OF ELECTRIC SHOCK, DO NOT REMOVE COVER (OR BACK) NO USER-SERVICEABLE PARTS INSIDE REFER SERVICING TO QUALIFIED SERVICE PERSONNEL | ||
This symbol indicates that dangerous voltage constituting a risk of electric shock is present within this unit
This symbol indicates that there are important operating and maintenance instructions in the literature accompanying this unit
Safety Notice
- Prior to use, read through this safety guide.
- Pay attention to safety warnings.
- Observe all operating requirements.
- For any items designed for indoor use only, do not operate near water or in humid environments.
- For cleaning, only use a lint-free, dry cloth.
- Install according to the specifications.
- Place away from heat sources or heating appliances.
- During placement, ensure adequate support for the product and access to controls and connectors.
- Do not obstruct any cooling vents or openings and allow adequate space for air flow.
- Use only power connections supplied with the product or suitable equivalents.
- Do not modify the equipment in any way.
- For any mains powered appliances, ensure that the mains voltage is as described in the specifications.
- Keep powered products and batteries away from the reach of children.
- In case of malfunction, water ingress or other damage, consult qualified service personnel.
- Avoid pressure or impact to the housing that may result in damage when transporting or installing this product.
- For any Earthed mains product, ensure that the power supply has a protective Earth connection.
- Keep all packaging materials out of reach of children.

Disposal : The "Crossed Wheelie Bin" symbol on the product means that the product is classed as Electrical or Electronic equipment and should not be disposed with other household or commercial waste at the end of its useful life. The goods must be disposed of according to your local council guidelines.

AVSL Group Ltd, Unit 2 Bridgewater Park, Taylor Road, Manchester, M41 7JQ, Unitied Kingdom

AVSL (EUROPE) Ltd, Unit 3D North Point House, North Point Business Park, New Mallow Road, Cork, Ireland